All Activity
- Last week
-
 SIPOCOT WATER DISTRICT joined the community
 -
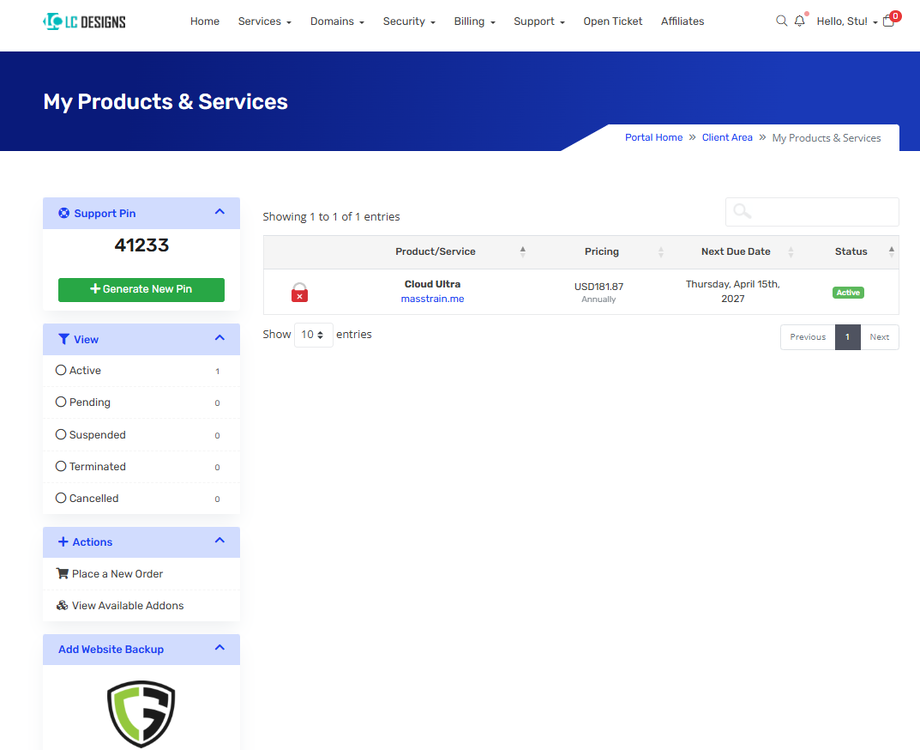
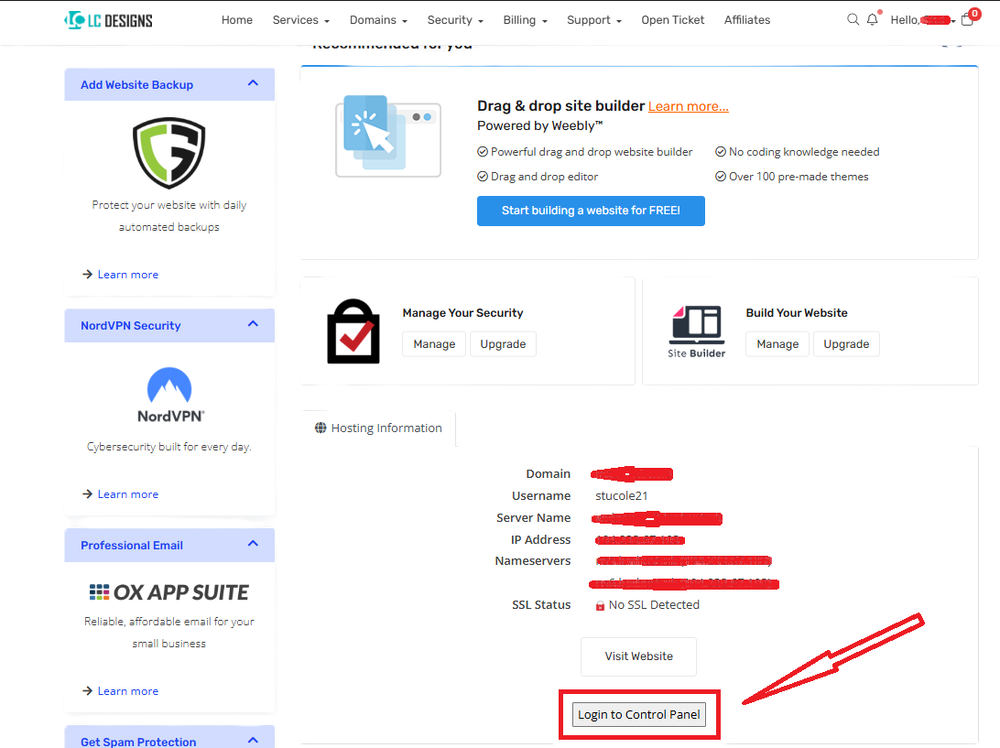
 Step 1: Open LCwHost Client AreaGo to: LCWHost Client Area Login You’ll see: Email address Password Login button Enter your credentials and sign in. Step 2: Open “Services”After login: Look at the top menu Click: Services or My Services This section lists: Shared hosting VPS Domains Step 3: Select Your Hosting PackageClick your hosting service. You’ll then see: Domain name Server details Hosting username Billing cycle Status Step 4: Access LCwHostInside the hosting service page, look for buttons like: Login to Control Panel Click it. Our Platform can automatically connect clients directly into LCwHost. Step 5: Go to “E-Mail Manager”After logging in: Look for E-Mail Manager or Email Accounts Usually found under: Account Manager or E-Mail Management Click it. Step 6: Open “Email Accounts”Inside the E-Mail section: Click Email Accounts You’ll see: Existing email accounts Storage usage Create account button Step 7: Create a New Email AddressClick: Create Account or + Create Mail Account Then fill in: UsernameExample: info support sales This becomes: [email protected] PasswordCreate a strong password. You can: Type your own Or click Random/Generate
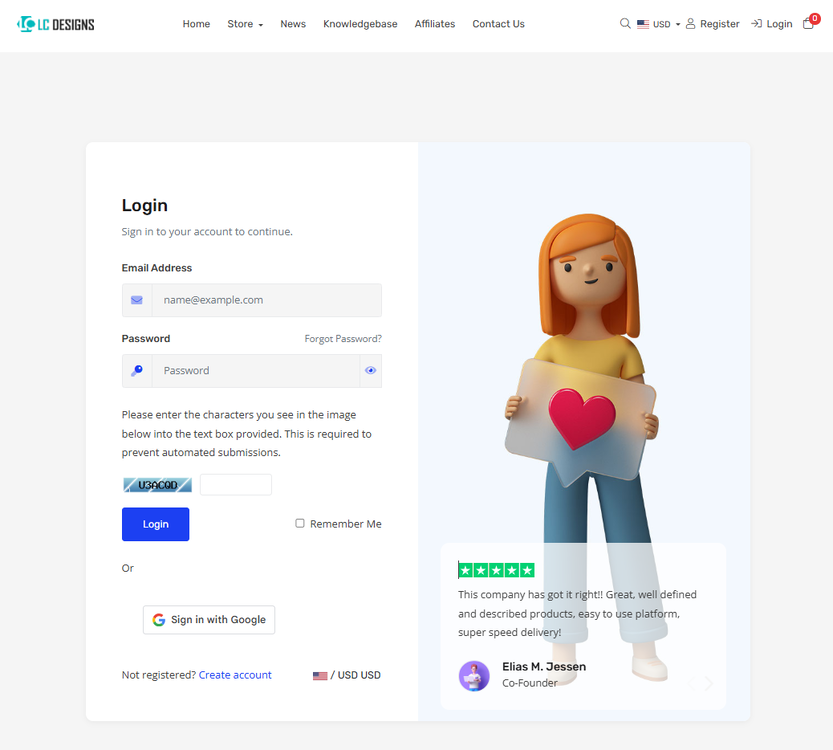
- Earlier
-
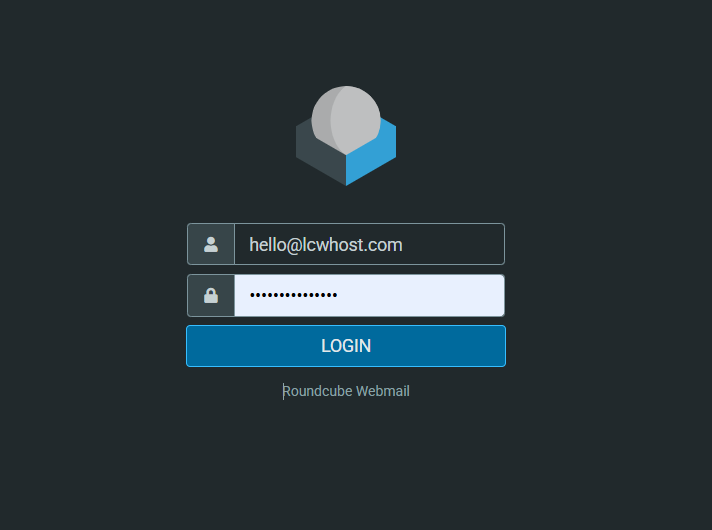
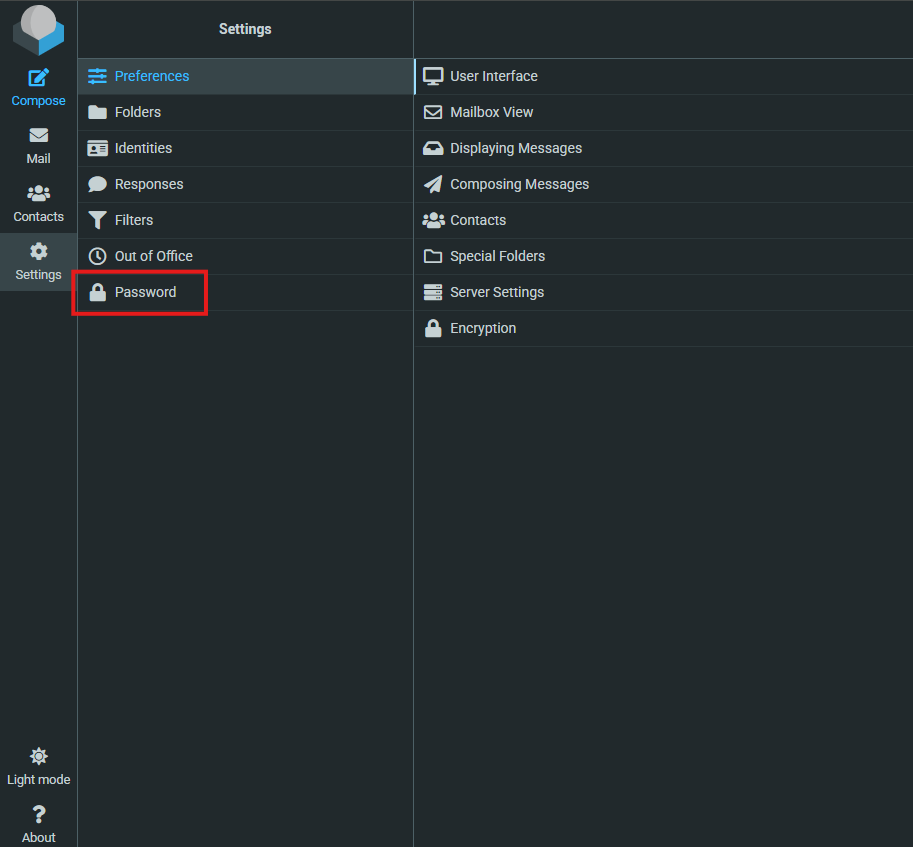
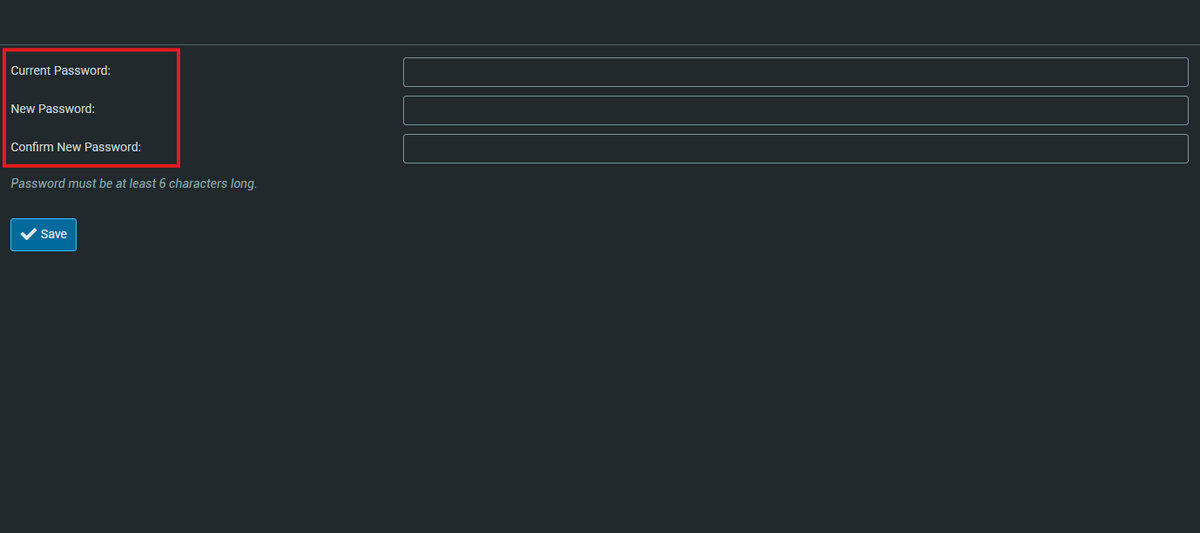
 Usually, email account passwords are managed through the LCwHost interface. However, if you use Roundcube Webmail to access your emails, you can easily update your password directly from Roundcube. You can also watch the video tutorial by clicking the provided link. Follow the steps below: Log in to Roundcube Webmail using your current email credentials. Navigate to Settings and select the Password option. Enter your current password, your new password, and then confirm the new password. Click Save. Your new password will take effect immediately.